Ingredients
Equipment
Method
- Add your frozen or thawed scrap bag contents directly into the Instant Pot insert — bones, vegetable scraps, and all. Add garlic, peppercorns, bay leaves, turmeric, and salt. Pour in the apple cider vinegar.
- Let the bones and vinegar sit together for 10 minutes before adding water. This draws minerals out of the bones into your broth.
- Pour in 10 cups of cold filtered water — do not fill past the max fill line. Seal the lid and set the valve to Sealing.
- Set the Instant Pot to Pressure Cook on High for 4 hours (240 minutes). This extra time is what pulls the deepest collagen and minerals from the bones — do not shortcut it.
- Allow the Instant Pot to fully natural release — do not touch the valve. This can take 45 minutes to an hour. The continued heat during natural release keeps drawing goodness from the bones. Let it go the full way.
- Pour the broth through a fine mesh strainer into a large bowl or pot. Discard the solids. Allow to cool on the counter for 30 minutes then transfer to the refrigerator overnight.
- Once chilled, skim the fat layer off the top if desired — or leave it for a richer broth. Pour into mason jars and store in the refrigerator for up to 5 days or freeze for up to 6 months.
Notes
The apple cider vinegar is not optional — it is what pulls the minerals and collagen from the bones into the broth. You will not taste it in the finished product. Use raw ACV with the mother for the most benefit.
A good broth will gel solid when refrigerated. If yours does not gel, add more bones next time or reduce the water slightly. That gel is collagen and it is exactly what you want.
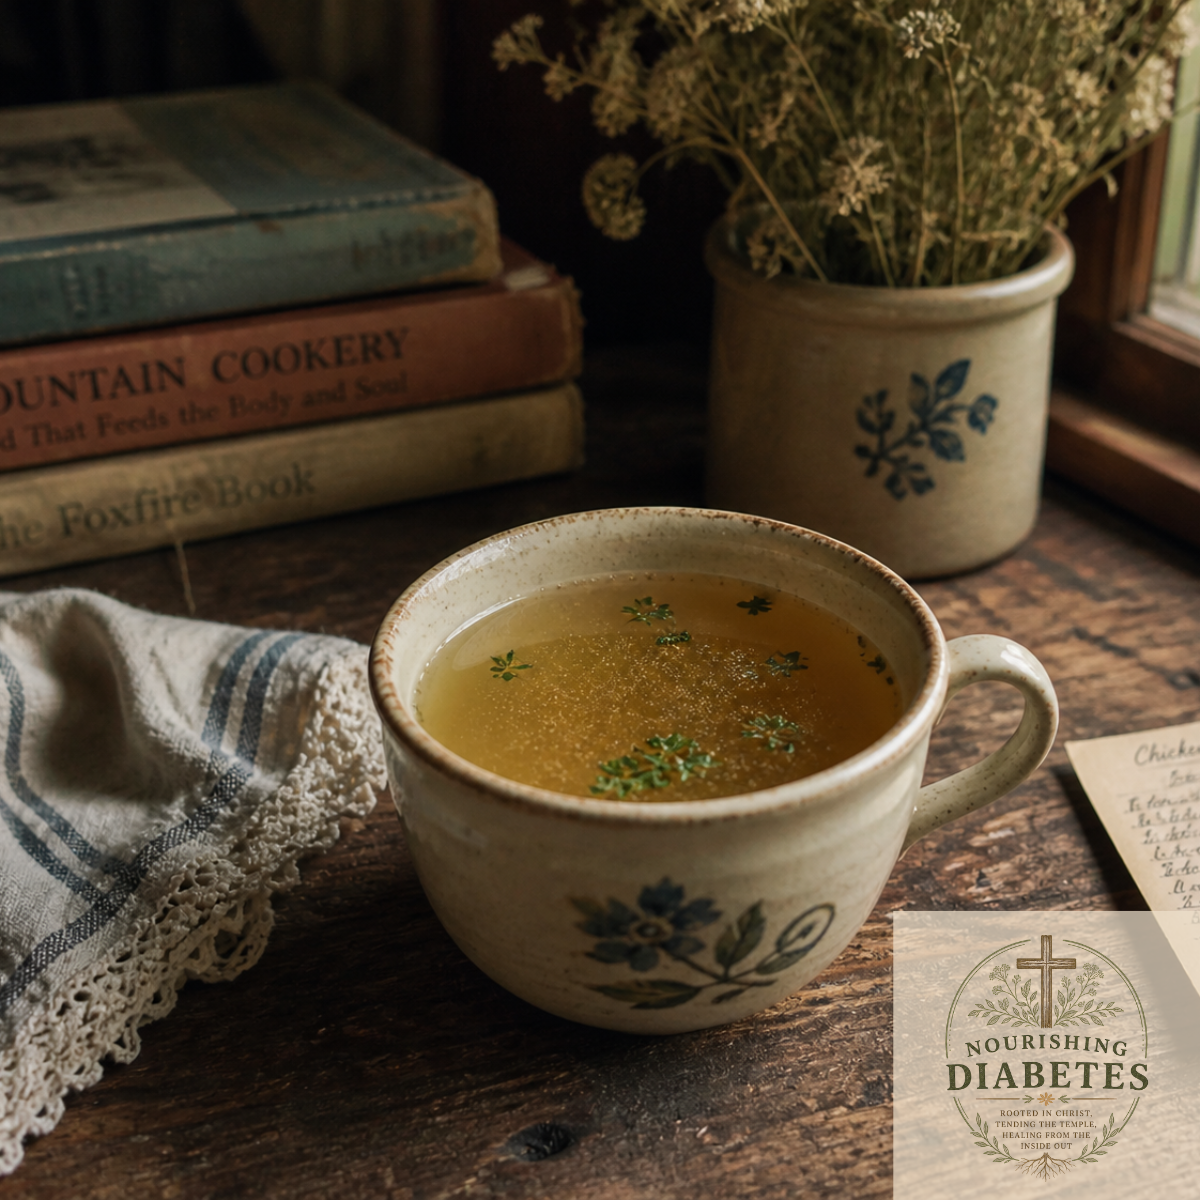
Turmeric will give your broth a golden color and adds anti-inflammatory properties that are particularly helpful for blood sugar management.
Save your vegetable scraps in a gallon zip bag in the freezer — onion skins, celery ends, carrot peels, parsley stems. When the bag is full, it is time to make broth.